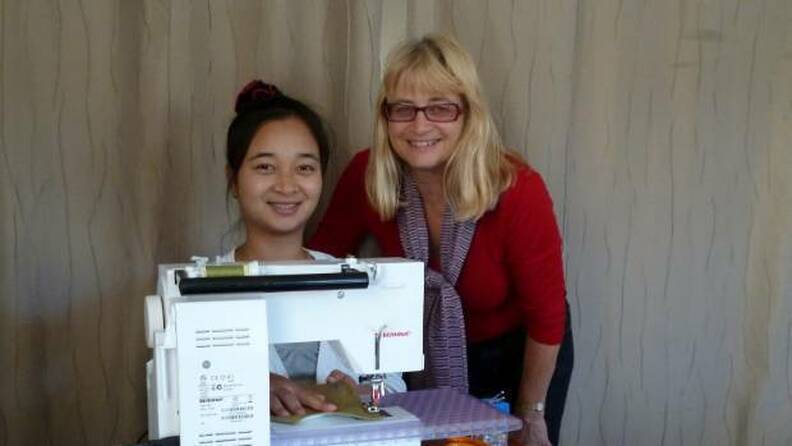
How do mechanized sewing machines work
Manual sewing can be an overwhelming assignment thinking about that it requires a great deal of knowledge to concoct delightfully sewed plans. Be that as it may, these days of PCs, nearly everything can have some dimension of robotization and this incorporates sewing machines.
Modernized sewing machines are the leather sewing machine but on the other hand are probably the least demanding to utilize on the grounds that they are for the most part mechanized. Robotization implies you get a lot of join and this is so on the grounds that it works by having the accompanying:
Synchronized engines
Common electric sewing machines have few crisscross and straight fastens in light of the fact that each and every engine is connected to the next, empowering the needle bar, feed hounds, tensioning circles and different parts to move in a synchronized way. Be that as it may, because of the various interconnections, these machines can't deliver numerous join.
Mechanized sewing machines changed the amusement when it came to sewing due to their installed PCs. This PC controls all the machine's engines and this framework guarantees that each engine can be accurately and freely moved and at a specific speed.
The consequence of this robotization is that the machine can make different join plans and this is the reason such machines can highlight many lines.
It may be useful:
Top 10 Powerful Tips to Help You Sewing Better
Top 10 Things You Need to Know for Embroidery Sewing machine
Step by step instructions to Make Sewing Look Professional
Put away examples
In principle, automated sewing machines can create a boundless number of sewing plans. A sewed structure is fundamentally made by moving the needle bar and the feed hounds with a particular goal in mind so the needle can penetrate through the texture as it is moved in a specific course. Since the locally available PC controls all the machine's engines, it can without much of a stretch accomplish any structure effectively.
Thusly, these machines store their sewing plans locally on their memory and burden them to the PC to execute according to your order. New plans can likewise be effectively stacked into a similar memory to grow your choices.
This is basically done by interfacing it to a workstation, downloading new structures from the web and burden them into the machine's interior memory.
Simple choice
The various fasten examples may imply that choosing one is a bad dream. Be that as it may, all mechanized sewing machines accompany screen shows – some even have touchscreens – and selector catches to help you effectively select the structure you need.
The chose number is sent to the locally available PC, which at that point manages the engines on the speed and heading to move in order to accomplish your chose example.
Step by step instructions to Improve your Sewing
Step by step instructions to Use a Double Needle on a Sewing Machine
Step by step instructions to Make a Basting Stitch with a Sewing Machine
Sensors
The PC of an automated sewing machine send signals, yet it likewise gets criticism on the status of activities with the goal that it can alter in like manner. Mechanized sewing machines as a rule have different sensors that illuminate the PC of how every one of the segments are situated.
This empowers the PC to realign different parts and right erroneous fasten designs. It likewise causes the PC to do exactness sewing and make the machine's wide arrangement of sewing designs.
Mechanized work zone
Electronic sewing machines additionally have a mechanized work zone that likewise enormously adds to its exactness sewing. This work territory holds and moves the texture immovably under the needle, empowering the needle to hit the correct spots and make flawlessly adjusted examples.
PCs have made a huge difference. The electronic sewing machine is conceivably the best innovation after the development of the sewing machine itself. This is on the grounds that it does the vast majority of the work for you and does it impeccably.
With this extraordinary jump, just more computerization and better upgrades are normal as sewing gets a lot simpler.
Steps to Sew on A Patch
The explanation behind sewing on a fix to apparel can be for enlivening purposes or for just fixing a gap. Whatever the reason it might be for, similar standards would apply for sewing on a fix with a sewing machine. This stroll through will make you on a stride by step premise on the most proficient method to finish the undertaking of fixing up your most loved coat or the blanket that your grandma by and by made for you.
The most critical thing is that you have every one of the fundamentals for completing the work before you do the real work.
The Things That You Would Need Are:
1. A fix of material which looks like or matches the texture that you are going to fix.
2. A couple of scissors.
3. The correct shaded string.
4. A decent sewing machine.
Presently after that is done, we should continue ahead with the errand with a continuous movement of steps.
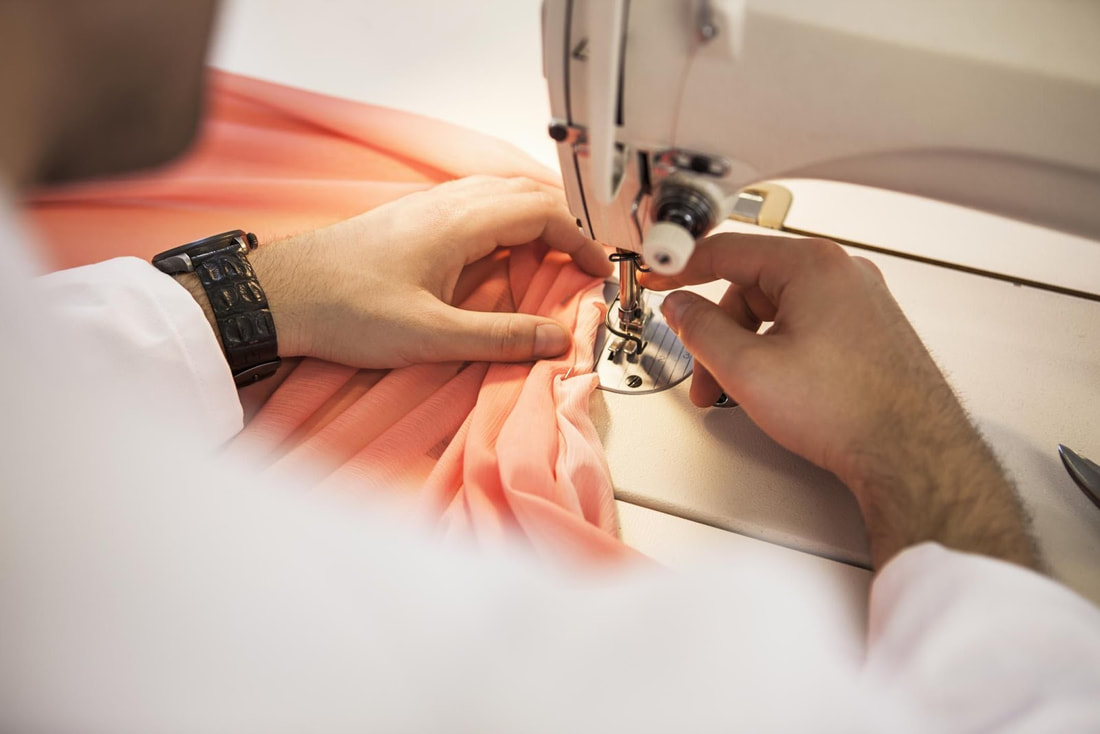
Stage 1: ASSEMBLE THE PATCH
A fix can be bought from the store particularly in the event that you need to sew it for enlivening purposes. If not, you could generally discover a fix to sew on from old textures. Remember that you get a fix that does not emerge if the reason for your best leather sewing machine on a fix is for covering a gap. The thought is to cover it with the goal that the new texture can mix into the texture. Do ensure that the span of the fix isn't equivalent to the measure of the opening in the material. Ensure that the fix is somewhat bigger with the goal that the fastens are set in the texture just as the fix completely.
Stage 2: TRIM THE FRAYED EDGES
The subsequent stage includes in preparing the harmed region. On the off chance that it is an opening that you are sewing the fix on, at that point it is fundamental that you scratch any frayed edges. These edges will come in the route amid the way toward sewing on the fix and frequently, this abstains from getting the correct lines in the fringes of the fix. Likewise, do endeavor to try and out the edges of the gap to make the change of fixing the texture as smooth as could be allowed.
Stage 3: TURN THE FABRIC INSIDE OUT
This is an easy decision, yet this is likewise one of the means where most novices come up short. Before you begin sewing on the fix, it is basic that you turn the fabric back to front dependably. This shrouds the fix and expressing the self-evident, fixes the harm too.
Stage 4: PIN THE PATCH
In the wake of turning the texture back to front, one can utilize pins to verify the fix over the opening. It is very dangerous to begin sewing on it promptly as the fix may not cover the opening totally. So ensure that the edges of the fix are covering the opening and that there is an adequate measure of fringe for legitimate lines. Since the texture is back to front, the fix ought to look down also. A few people incline toward utilizing texture stick or a twofold sided tape rather than pins to secure in the fix.
Stage 5: THREAD THE SEWING MACHINE
On the off chance that you can't locate the correct string for the fix, you can settle on the undetectable string. It is the most secure wagered as the wrong hued string can make the interwoven upsetting and noticeable. After the matter of picking the string, the subsequent stage is to string the sewing machine. The sort of string will rely upon the sort of fabric that you are sewing on, so ensure that you increment the thickness of yarn while threading the sewing machine.
Stage 6: FINALLY, SEWING IT ON
The fix ought to be sewed on utilizing straight lines. To make your work simpler, dependably get a fix that is either a square fit as a fiddle or rectangular regardless of the span of the opening. While sewing, get the fastens inside a half inch from the edge of the fix to ensure that you are verifying the join in the texture also. Sew the sides of the fix material no less than a few times to make the lines more grounded. Likewise, do expel the pins while you are sewing the fix. After the fastens are verified, you can clip the extra string and trim the edges of the fix also.
Step by step instructions to Choose The Right Quilting Material
Before you begin knitting, the most vital thing you ought to do is to pick the correct stitching material. Picking the sewing material is the basic advance on the grounds that the material is the key of your entire task. On the off chance that you are a gifted quilter, at that point this is simple for you yet on the off chance that you are new to knitting, at that point the accompanying variables ought to be viewed as when you pick the texture.
Shading: as a rule you will be befuddled by this progression as there are a huge number of texture hues accessible. A basic hint is in the first place the shading you like. This will give you a decent begin and after you know how it functions, you can attempt to consolidate a couple of different textures that are lighter or darker yet have a similar shade. Despite the fact that this is only a monochromatic blanket, however it is a decent practice. You can attempt to make multi-shaded blankets once you know the rule to fit them together.
The Things That You Would Need Are:
1. A fix of material which looks like or matches the texture that you are going to fix.
2. A couple of scissors.
3. The correct shaded string.
4. A decent sewing machine.
Presently after that is done, we should continue ahead with the errand with a continuous movement of steps.
Stage 1: ASSEMBLE THE PATCH
A fix can be bought from the store particularly in the event that you need to sew it for enlivening purposes. If not, you could generally discover a fix to sew on from old textures. Remember that you get a fix that does not emerge if the reason for your best leather sewing machine on a fix is for covering a gap. The thought is to cover it with the goal that the new texture can mix into the texture. Do ensure that the span of the fix isn't equivalent to the measure of the opening in the material. Ensure that the fix is somewhat bigger with the goal that the fastens are set in the texture just as the fix completely.
Stage 2: TRIM THE FRAYED EDGES
The subsequent stage includes in preparing the harmed region. On the off chance that it is an opening that you are sewing the fix on, at that point it is fundamental that you scratch any frayed edges. These edges will come in the route amid the way toward sewing on the fix and frequently, this abstains from getting the correct lines in the fringes of the fix. Likewise, do endeavor to try and out the edges of the gap to make the change of fixing the texture as smooth as could be allowed.
Stage 3: TURN THE FABRIC INSIDE OUT
This is an easy decision, yet this is likewise one of the means where most novices come up short. Before you begin sewing on the fix, it is basic that you turn the fabric back to front dependably. This shrouds the fix and expressing the self-evident, fixes the harm too.
Stage 4: PIN THE PATCH
In the wake of turning the texture back to front, one can utilize pins to verify the fix over the opening. It is very dangerous to begin sewing on it promptly as the fix may not cover the opening totally. So ensure that the edges of the fix are covering the opening and that there is an adequate measure of fringe for legitimate lines. Since the texture is back to front, the fix ought to look down also. A few people incline toward utilizing texture stick or a twofold sided tape rather than pins to secure in the fix.
Stage 5: THREAD THE SEWING MACHINE
On the off chance that you can't locate the correct string for the fix, you can settle on the undetectable string. It is the most secure wagered as the wrong hued string can make the interwoven upsetting and noticeable. After the matter of picking the string, the subsequent stage is to string the sewing machine. The sort of string will rely upon the sort of fabric that you are sewing on, so ensure that you increment the thickness of yarn while threading the sewing machine.
Stage 6: FINALLY, SEWING IT ON
The fix ought to be sewed on utilizing straight lines. To make your work simpler, dependably get a fix that is either a square fit as a fiddle or rectangular regardless of the span of the opening. While sewing, get the fastens inside a half inch from the edge of the fix to ensure that you are verifying the join in the texture also. Sew the sides of the fix material no less than a few times to make the lines more grounded. Likewise, do expel the pins while you are sewing the fix. After the fastens are verified, you can clip the extra string and trim the edges of the fix also.
Step by step instructions to Choose The Right Quilting Material
Before you begin knitting, the most vital thing you ought to do is to pick the correct stitching material. Picking the sewing material is the basic advance on the grounds that the material is the key of your entire task. On the off chance that you are a gifted quilter, at that point this is simple for you yet on the off chance that you are new to knitting, at that point the accompanying variables ought to be viewed as when you pick the texture.
Shading: as a rule you will be befuddled by this progression as there are a huge number of texture hues accessible. A basic hint is in the first place the shading you like. This will give you a decent begin and after you know how it functions, you can attempt to consolidate a couple of different textures that are lighter or darker yet have a similar shade. Despite the fact that this is only a monochromatic blanket, however it is a decent practice. You can attempt to make multi-shaded blankets once you know the rule to fit them together.
Type: there are different sorts of blankets, similar to polyester, wool and cotton, and so on. I for one use cotton for every one of my blankets as it is delicate and tough. It is an incredible material to work with and the shading doesn't drain like other sewing materials. This makes the blanket made with cotton can be utilized for an extensively significant lot. In spite of the fact that cotton is utilized generally to make quilts, you can utilize different kinds of materials also. For instance, in the event that you need to make quilts for your youngsters, at that point wool is an extremely decent choice.
Style: each one has his most loved style and you can pick your own style from a large number of styles. In the event that you think you are imaginative, you can even structure your very own style. Regardless of what sort of style you need, you can generally discover it. What's more, after you get your style, you can pick examples to fit it effectively. There are boundless examples that you can pick, similar to supporters, sports and creatures, and so on. This is an extremely decent approach to express your identity.
Style: each one has his most loved style and you can pick your own style from a large number of styles. In the event that you think you are imaginative, you can even structure your very own style. Regardless of what sort of style you need, you can generally discover it. What's more, after you get your style, you can pick examples to fit it effectively. There are boundless examples that you can pick, similar to supporters, sports and creatures, and so on. This is an extremely decent approach to express your identity.
